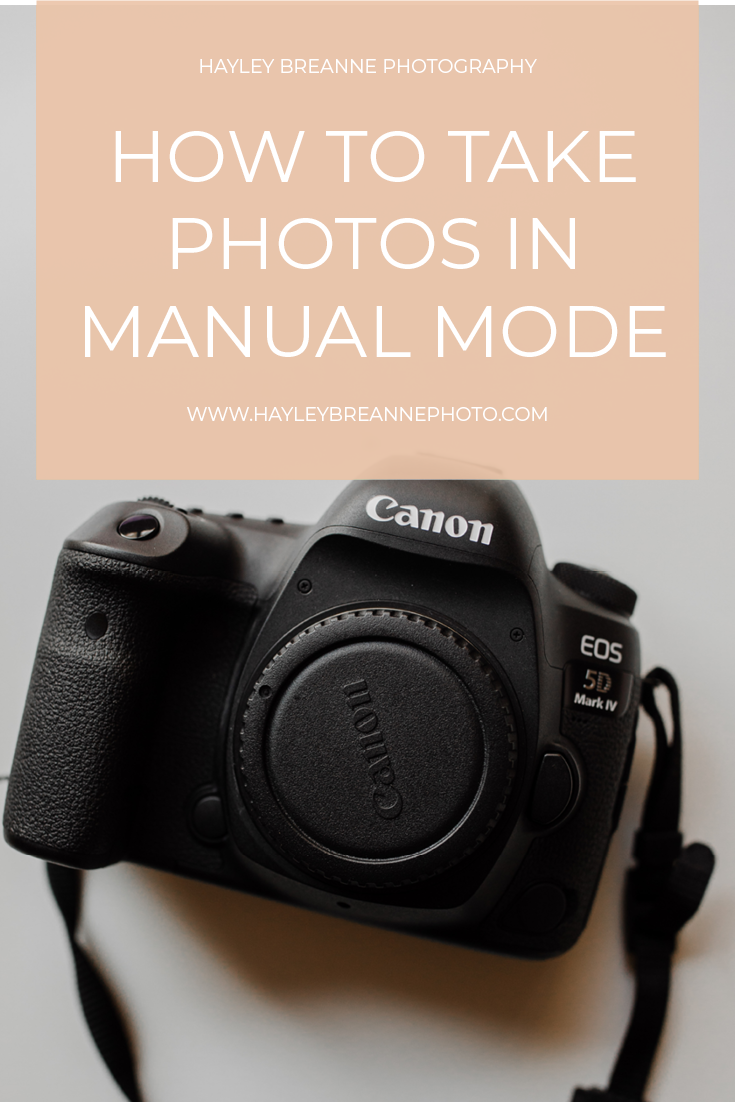
How To Take Photos In Your Camera's Manual Mode
Probably one of the MOST asked questions I get as a photographer is “how do I use my DSLR camera???”
Whether you are shooting photography professionally or just want to learn how to use your camera better, this post is for you! I have had this typed out on a note in my iPhone for YEARS and just send it to people when they ask (which happens often!), so I thought it would be much more useful to share with you all on a blog post :)
Shooting manual vs automatic can DRASTICALLY change your photo game - you get to control how dark/light your photo is, how much “blur” to the background occurs, and also have a lot more creative risks you can take. It takes a little bit of practice, but after a little bit, you’ll be able to set up your settings WHEREVER you are with no issue! Also, DISCLAIMER: I went back and forth with sharing the real, technical definitions of each piece of manual mode, but decided just to talk in terms that are easy for everyone to understand! If you want to learn more, Google has LOTS of helpful info :)
3 Main Parts of Manual Mode - ISO, Aperture, and Shutter Speed
ISO: how clear vs grainy your photo is
You want this to be as low as possible (unless you are going for a really filmy look)! The higher the number, the more grainy your picture will be.
Lower number = photo will be darker.
Higher number = photo will be brighter.
When I’m outside during the day, I always have my ISO at my lowest setting (100). Since it’s so bright outside already, I don’t need the ISO any higher to make the photo look brighter.
When I’m inside my house during the evening, my ISO is higher, around 1200+. Since it’s darker inside, I have to make the ISO higher to make the photo look brighter. It makes the picture a little more grainy, so make sure you pay attention to that!
Aperture = how much is in focus vs blurred (in a good way) in your photo
Lower (like f/2) = more of the photo background is blurred, photo will be brighter
Higher (like f/10) = more of the photo is in focus, photo will be darker
I usually start with this setting when I take pictures, and then set my ISO and shutter speed off of that (since my main goal is what I want the photo to look like in terms of the focus/blur effect)
When I’m taking a portrait of 1 or 2 people, I set this very low (f/1.8-f/2.4), so only they are in focus, and everything else around them is blurred.
When I take a group photo (when people are in rows), I set this around f/4-f/6, since I still want a blurred background, but I also want everyone’s face to be not blurry.
When I’m taking a landscape photo, I set this very high (f/12-f/16), so I can get the whole area in focus.
Shutter Speed - how quickly the photos is taken
Balances the other two, and is only super important if you want to do a cool long exposure (like those photos where people draw words with sparklers), or you need to capture something moving
This one gets a little confusing since it is measured in seconds and gets into fractions. 1/100 is lower (and faster) than 1/60 - just like a normal fraction
Lower fraction value (1/60) = photo will be brighter, more likely to be blurry
Higher fraction value (1/500) = photo will be darker, less likely to be blurry
The rule of thumb is to always keep your shutter speed at least at 1/60. Anything lower, and the natural shake your hand makes when clicking a shutter button will make your whole photo blurry. I like to keep mine at least around 1/150, since sometimes my arms get tired and will move without me intending to.
When I am taking photos of sports, I always set this at least at 1/300, so the motion isn’t blurry.
If I am trying to do a sparkler photo, I might set it around 3-5 (that equals seconds!), so I can get the whole word being drawn in the photo.
Confused yet??? To help you get started, here are some of my practical settings that I always start at:
Portrait, outside in the sun. Aperture = 2.0. ISO = 100. Shutter speed = 1/1200.
Portrait, outside in shade. Aperture = 2.0. ISO = 100. Shutter speed = 1/500.
Portrait, inside. Aperture = 2.0. ISO = 500. Shutter speed = 1/100.
Landscape during the day. Aperture = 12.0. ISO = 100. Shutter speed = 1/100.
Landscape during sunset. Aperture = 12.0. ISO = 1000. Shutter speed = 1/100.
Now, what’s next? Get your camera out, set it to manual mode, and just start playing around with these settings! It’ll take a bit to get used to, but it is SO fun and freeing once you get the hang of it :)
